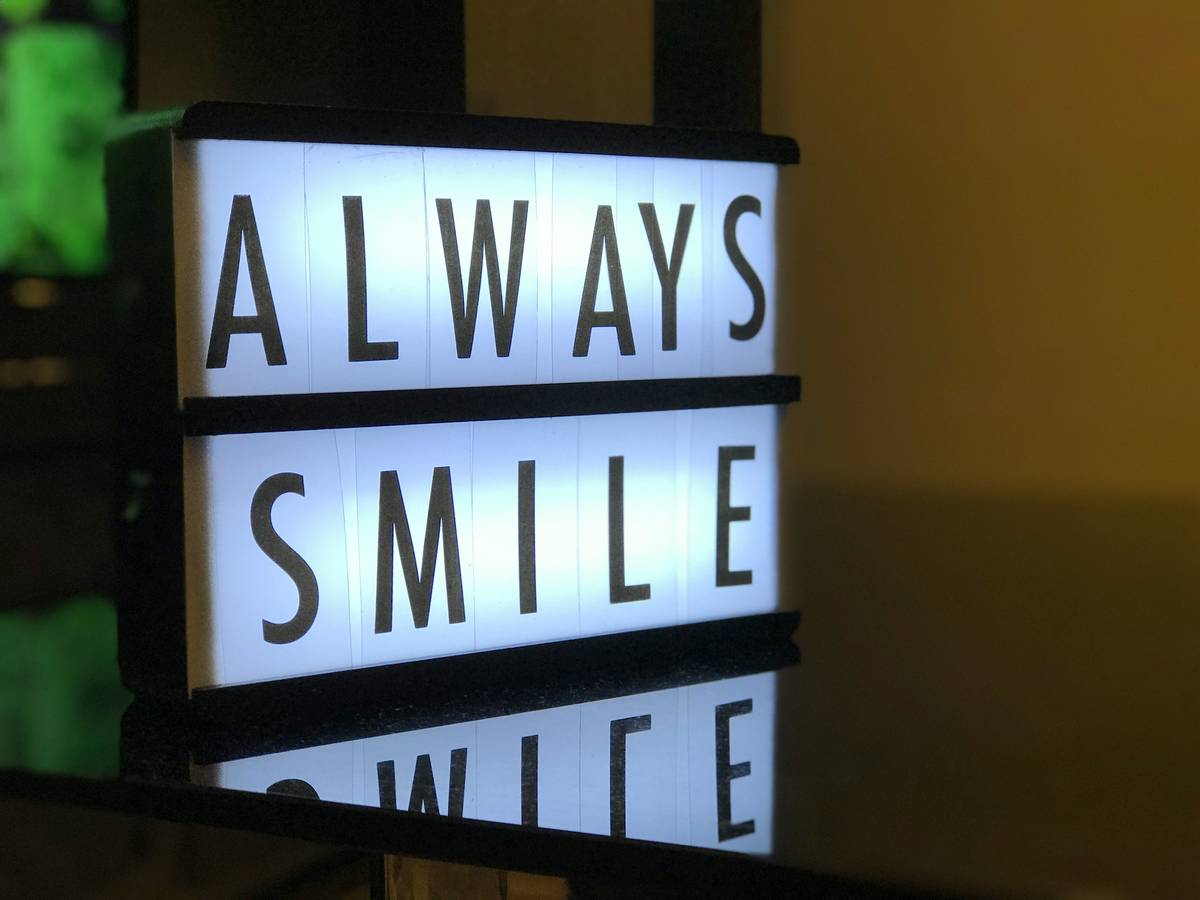
Your most cherished moments—wedding photos, vintage postcards, your kid’s first drawing—are fading in dim corners or crammed into drawers. You bought a display light box, thinking it’d solve everything. But under harsh LEDs or uneven backlighting, those memories look flat, washed out, or worse—overexposed. The real problem? Most “ready-to-go” display light boxes treat illumination like an afterthought. Here’s how to transform yours into a true memory-preserving centerpiece.
The Core Problem: Why Off-the-Shelf Light Boxes Fail Memory Preservation
Mass-market display light boxes prioritize aesthetics over archival integrity. They use cheap diffusers that create hotspots. Their color temperature is often too cool (5000K+), bleaching warm tones from film prints and watercolors. And the biggest sin? Non-adjustable brightness. Sunlight through a window has dynamic range. Your light box should too.
And here’s what manufacturers won’t tell you: prolonged exposure to even “low-heat” LEDs degrades paper fibers and dyes over time—especially if there’s no UV filter. You’re not just lighting a photo. You’re curating a microclimate.
How to Build a Museum-Quality Display Light Box at Home
Forget plug-and-play. Real preservation demands intentional design. Follow these steps—not as rigid rules, but as adaptable principles based on what you’re displaying.
Step 1: Choose the Right Light Source
Ditch standard LED panels. Opt for tunable CCT (Correlated Color Temperature) strips—ideally 2700K to 4000K range. Warm light flatters sepia tones; neutral white enhances contrast in black-and-white sketches. Install a dimmer with smooth 1–100% control. No stepped settings.
Step 2: Layer Diffusion Like a Pro
One acrylic sheet isn’t enough. Use a three-layer sandwich: frosted opal acrylic closest to the light, then a thin vellum sheet, then clear glass or museum-grade acrylic facing the viewer. This eliminates glare while preserving sharpness. Yes—it’s extra work. But your grandfather’s war letters deserve it.
Step 3: Seal Out Environmental Threats
Oxygen and humidity accelerate decay. If you’re framing irreplaceable items, build your display light box with a sealed back panel using silicone gasketing. Include a small silica gel pouch (replace quarterly) inside the cavity. Think of it as climate control for nostalgia.
| Approach | Upfront Cost | Preservation Quality | Brightness Control |
|---|---|---|---|
| Store-Bought Light Box | $35–$80 | Poor (no UV filter, fixed temp) | None or basic on/off |
| DIY w/ Basic LED Strip | $60–$120 | Fair (add UV film yourself) | Manual dial (limited range) |
| Museum-Grade DIY Build | $150–$250 | Excellent (tunable CCT, diffusion layers, sealed) | PWM dimmer (smooth full range) |
The Industry Secret: Light Boxes Should Breathe—Not Just Shine
Here’s what conservators whisper about: static lighting fatigues the eye and distorts perception over time. The fix? Introduce subtle, imperceptible variation. Program your light box to dim by 5% every 90 minutes, then return—a circadian rhythm for your memories. It reduces visual fatigue and mimics natural indoor light fluctuations. Few commercial units offer this. But with a $15 Arduino Nano and open-source code, you can. The math is simple: if your eyes stay relaxed, you’ll look longer—and that’s when emotional connection deepens. That’s the real goal, isn’t it?

Frequently Asked Questions
Can a display light box damage old photos?
Yes—if it lacks UV filtration and uses high-color-temperature LEDs. Always choose warm-white (≤3000K) lights with UV-blocking acrylic to prevent fading and brittleness.
How long should I keep my display light box on?
Limit continuous use to 6–8 hours daily. Use motion sensors or timers. Prolonged exposure—even to “safe” LEDs—accelerates chemical degradation in inks and paper.
Are battery-powered display light boxes safe for valuable keepsakes?
Generally no. They often use unregulated LEDs with poor color rendering and no diffusion. They’re fine for temporary displays—but never for heirlooms or archival materials.